Hand Tool Headlines
The Woodworking Blogs Aggregator
“Glory to God in the highest heaven, and on earth peace to those on whom his favor rests.” - Luke 2:14
Be sure to visit the Hand Tool Headlines section - scores of my favorite woodworking blogs in one place.
MVFlaim Furnituremaker

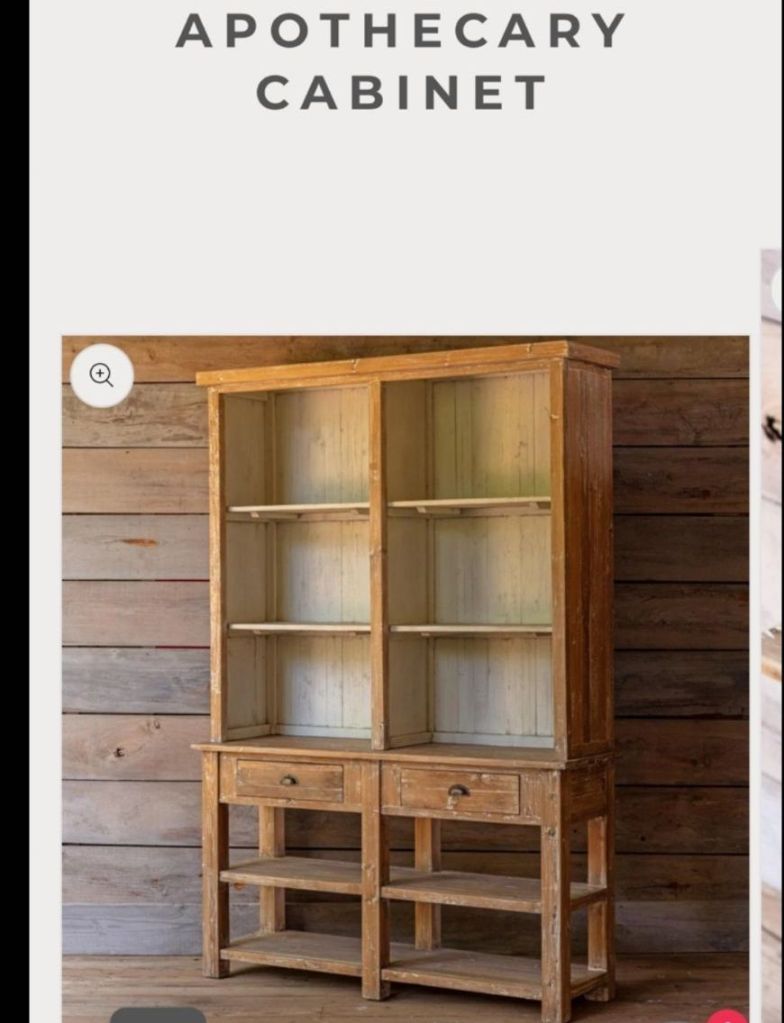
Display Cabinet
Anita got two new booths in the antique mall she sells in. She went from having a small 8′ x 10′ L shaped booth to having two big rooms. Because of this, she needed a big display cabinet for the back wall in one of her rooms. She searched the internet and asked me if I could make this apothecary cabinet for her.
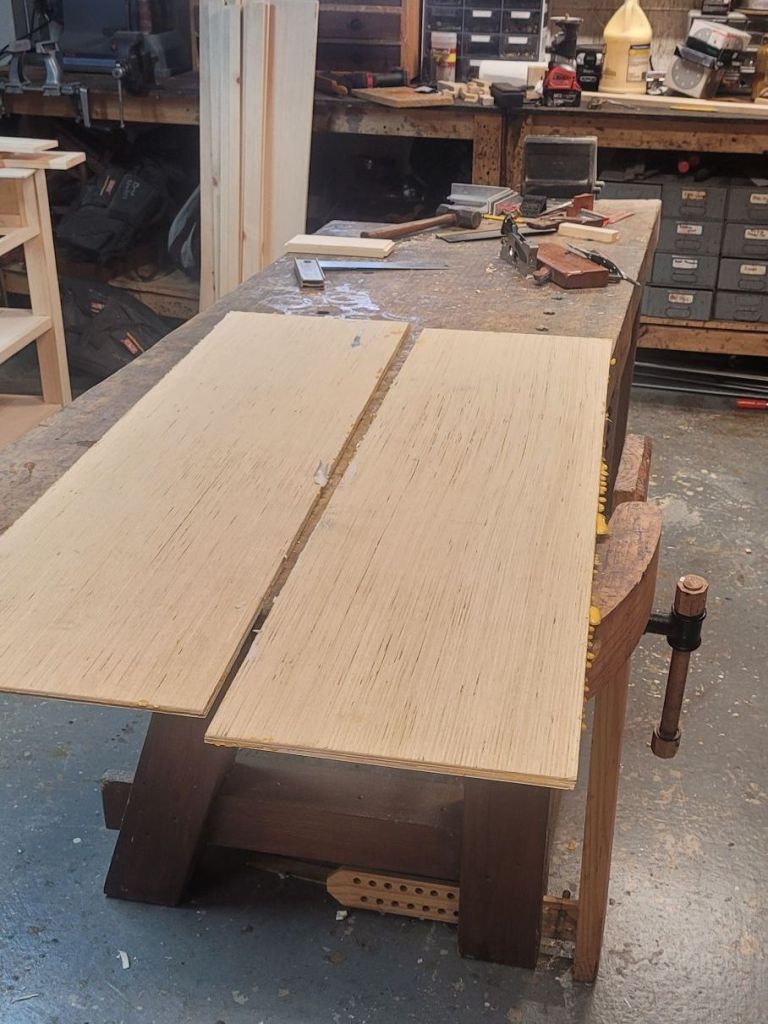
She wanted the piece to be made of a light colored wood but didn’t want maple or poplar. We went to Lowes and bought a bunch of 1×12’s that were a light pine made in Sweden. Being that they were from Sweden, I assume that it’s the same pine that IKEA uses in their furniture.
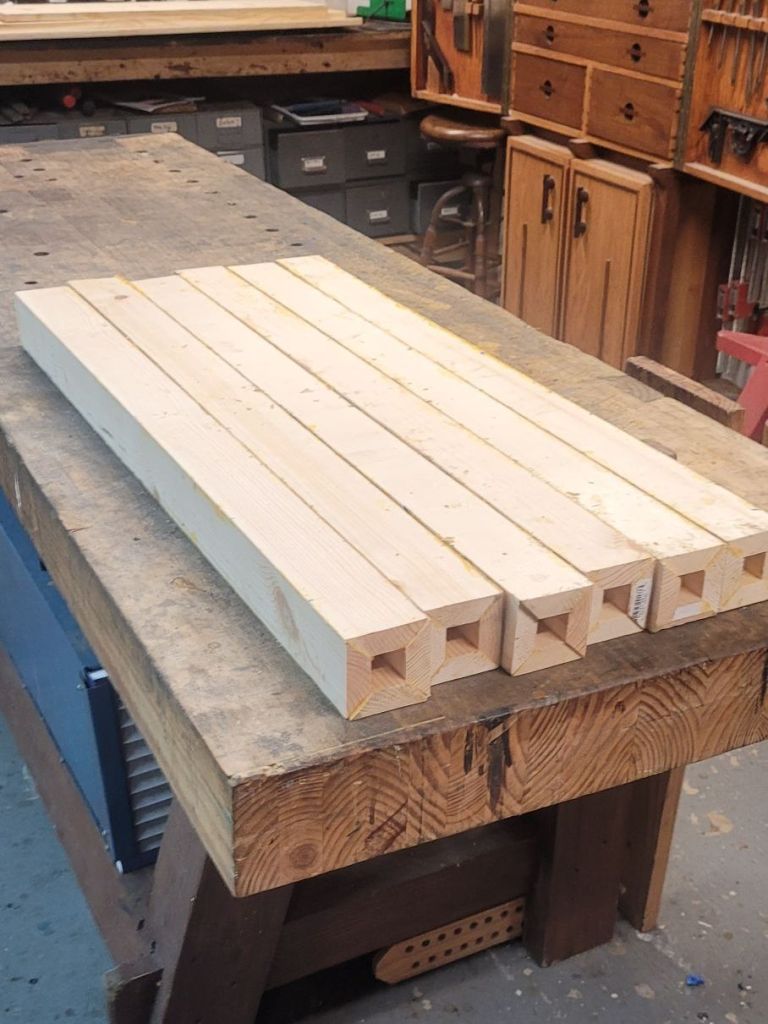
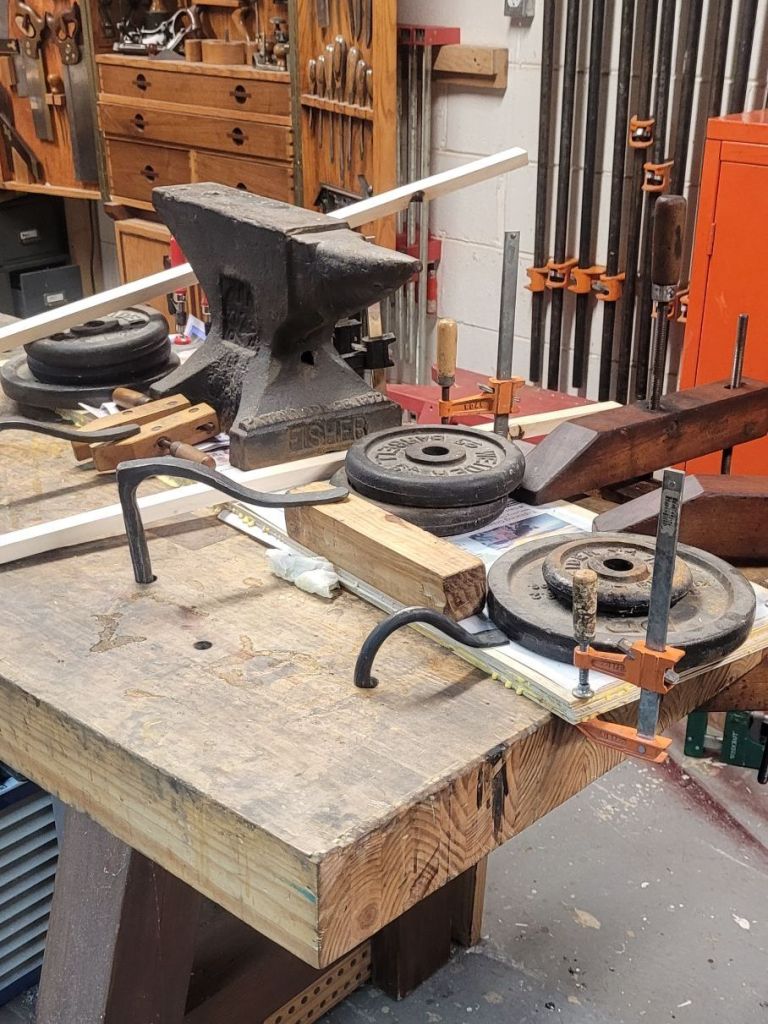
The first thing I did was make the legs by glueing up boards into a square. There’s a special lock miter router bit for this purpose but I have always heard that your stock has to be completely straight and flat in order for the bit to work well. My boards were neither, so I opted for 45 degree cuts and a lot of clamping pressure with band clamps and duct tape. Fortunately, they came out fine.

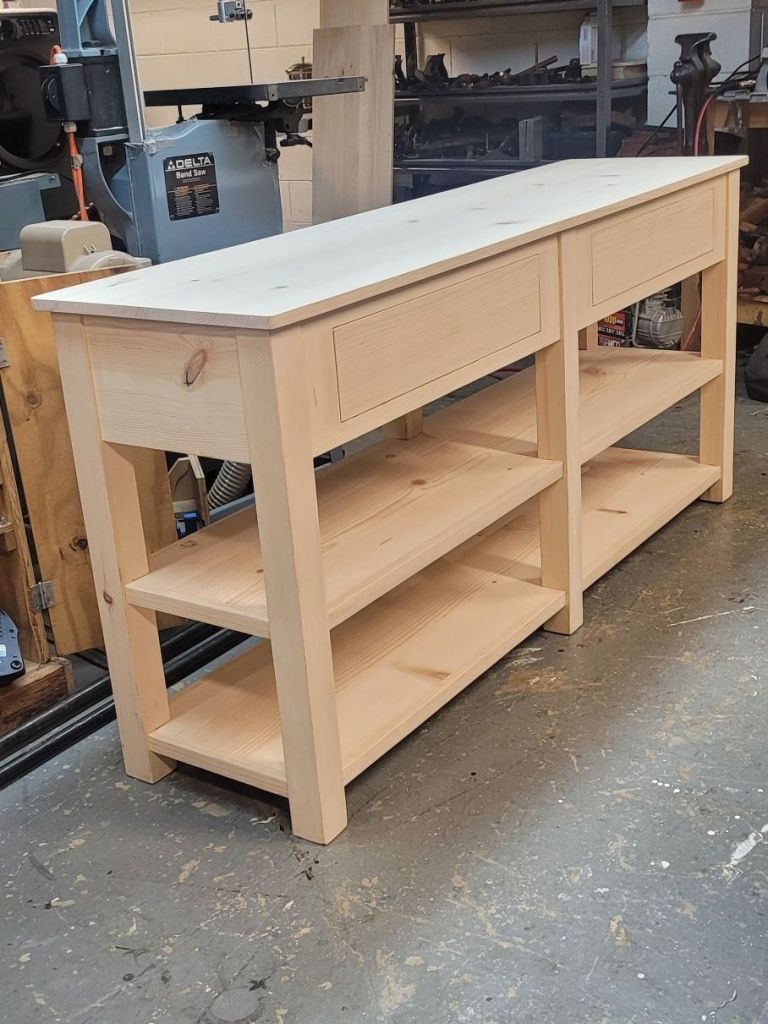
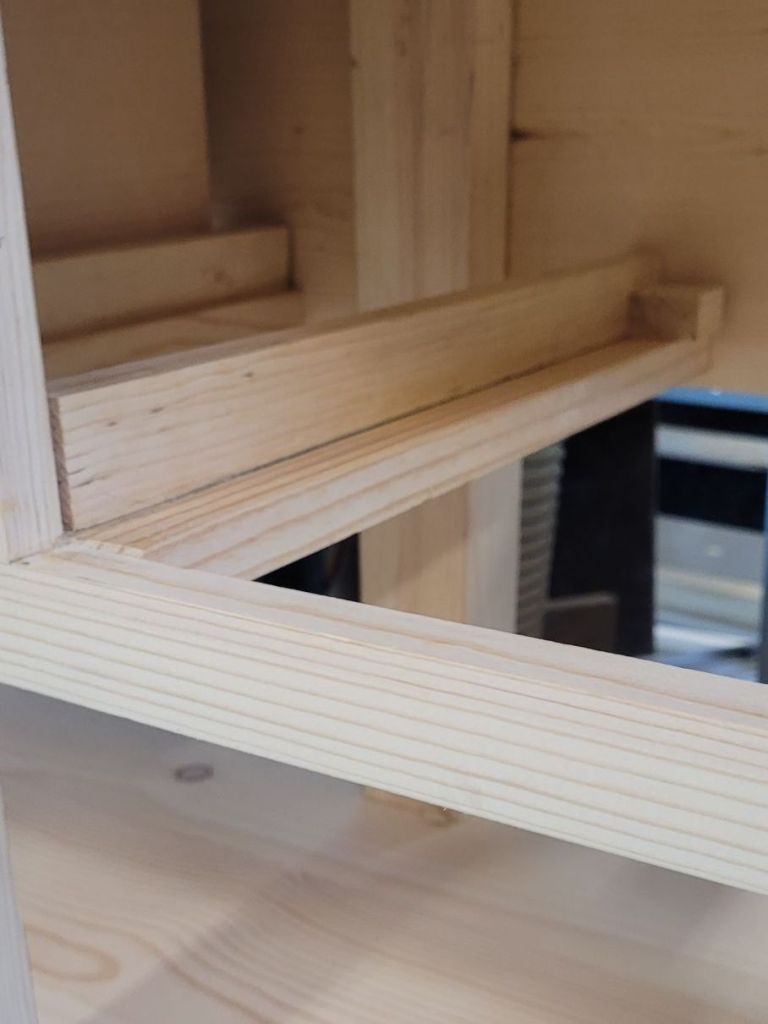
After the legs were made, I cut notches into them to fit the shelves. Then I wrapped the edge of the shelves with 1 1/4″ pieces of wood. On the end grain, I used a little bit of glue and pocket screws for the wood movemnet. The rest of the base was built with Festool Dominoes and glue.
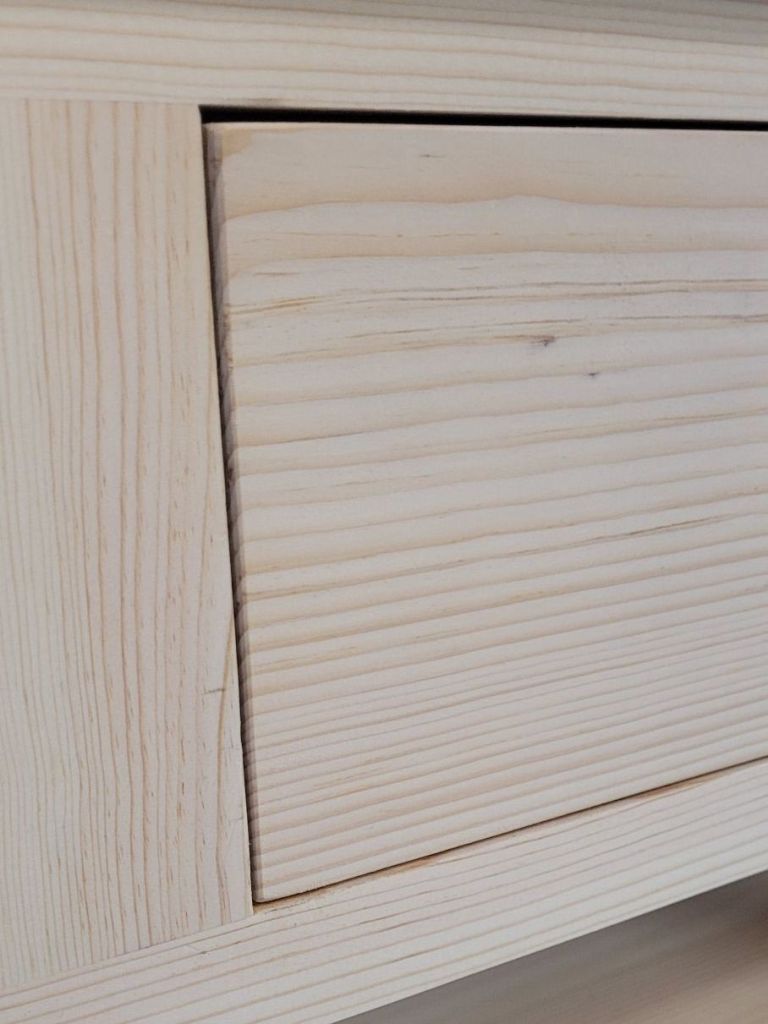
I wanted robust drawers so I made those with handcut half blind dovetails. It’s a lot of fun cutting dovetails by hand and it really doesn’t take too long once you get the hang of it.
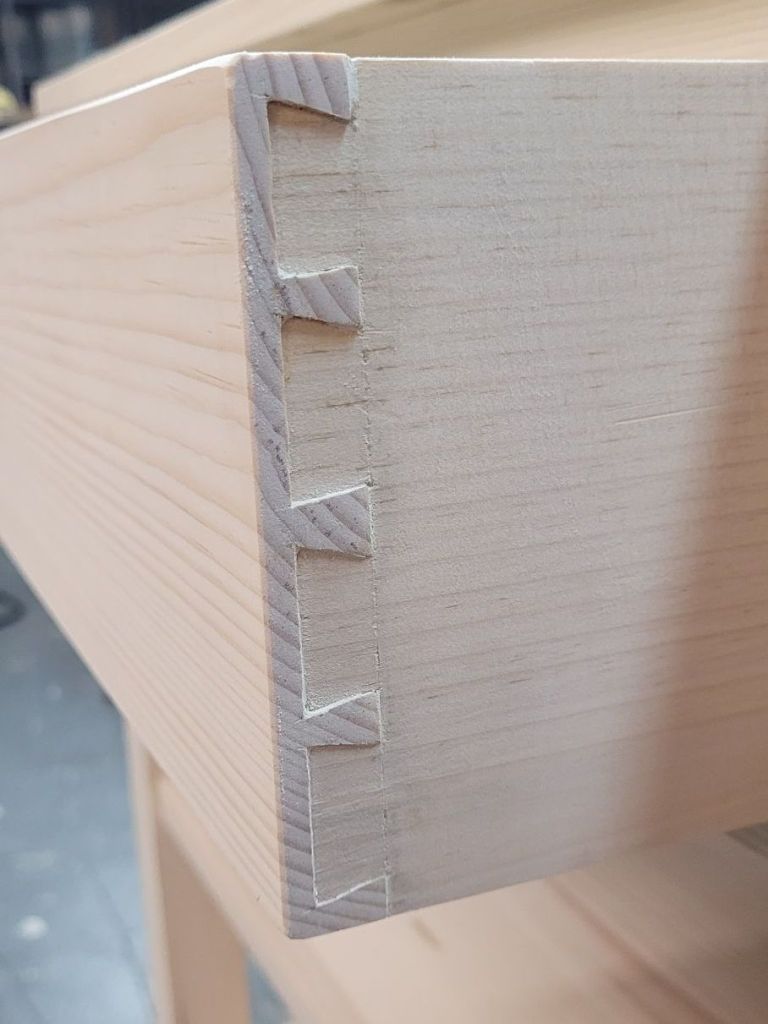
I wanted to make sure that the drawers wouldn’t bind, so I made the drawers a 1/8″ smaller in length and height so there would be a 1/16″ gap all around. I made sure the drawer runners were 1/16″ proud of the opening and screwed them in place with pocket screws and glue.
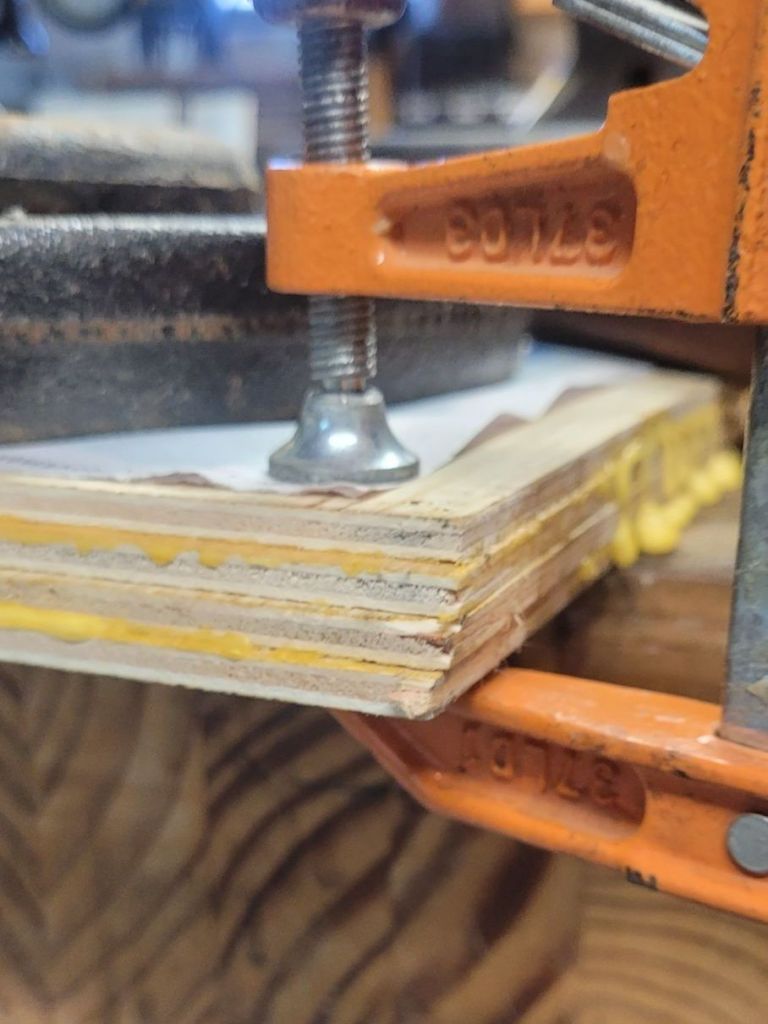
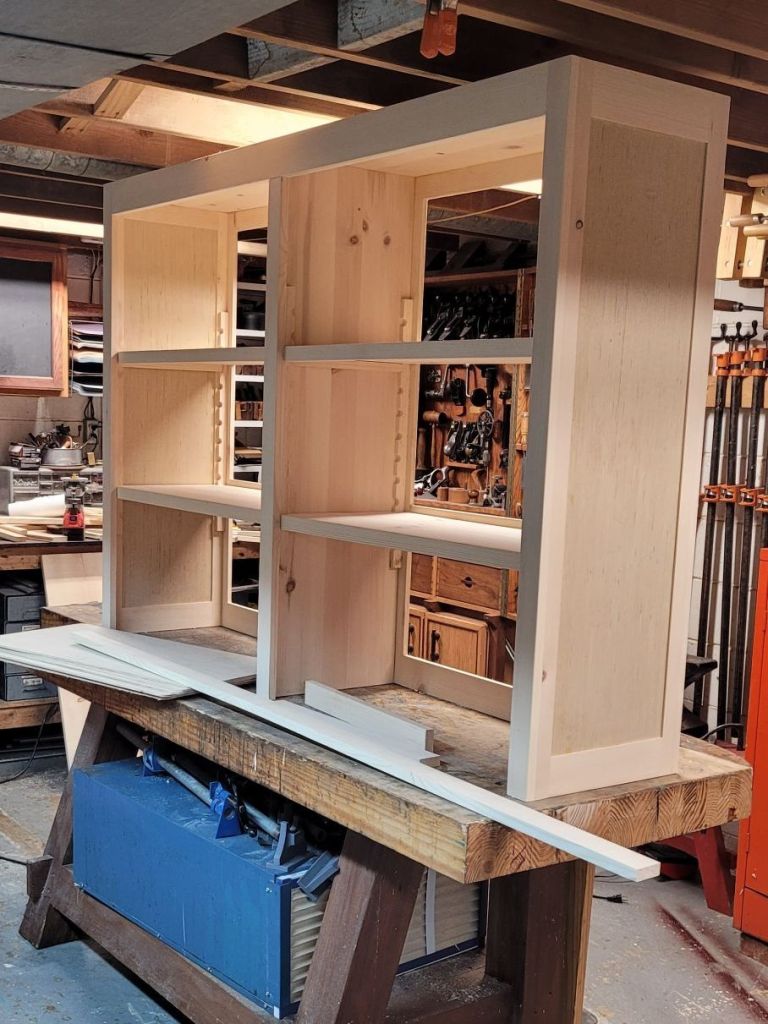
Once the base was made, I focused on the top. I wanted the sides to have a thicker panel in the middle of them, so I glued up the 1/8″ panels together. I used as many clamps I could find and stuck newspaper between the two panels so they would stick together. Luckily, when the panels dried, I was left with two oversized panels for the sides of the cabinet.
I built the case with more Dominoes and glue and created adjustable shelf supports with the scrap wood I had left over.
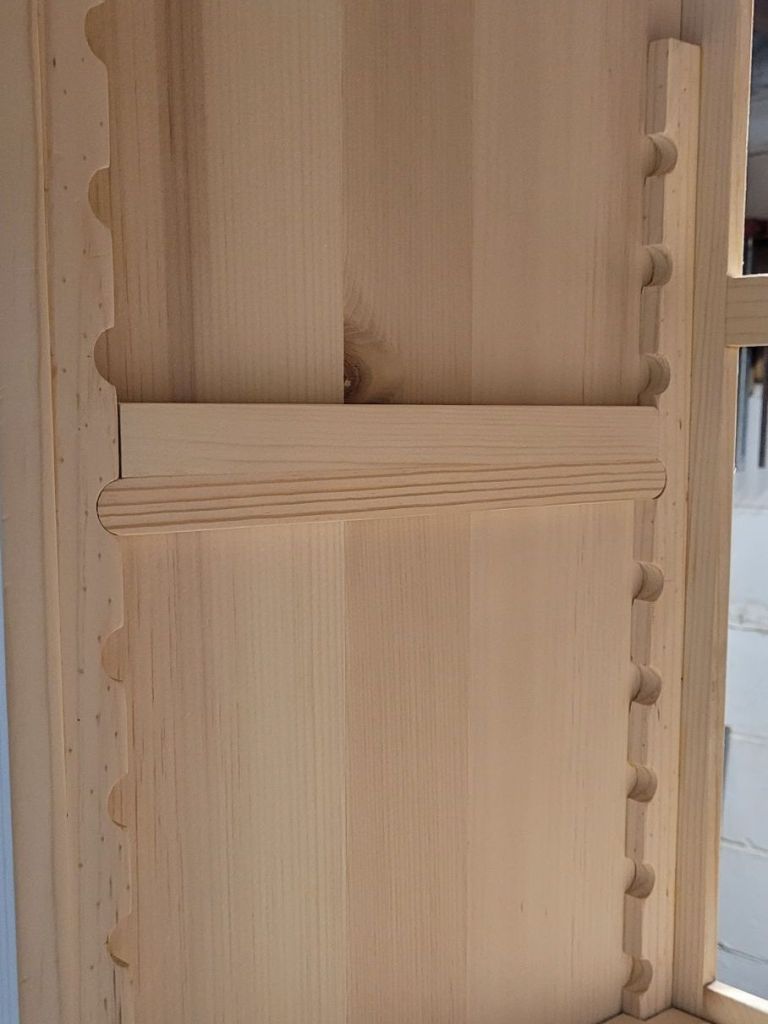
I love this technique for adjustable shelves. You drill a 3/4″ hole every 2″ then you rip the piece in half on the table saw. Then for the support, you add a 1″ filler on the bottom of the support stick. This way, if you need your shelf 1″ higher, you simply flip over your shelf support.
I installed the back with more of the 1/8″ thick panel wood and Anita put a natural aging solution on the piece as she didn’t want it stained.
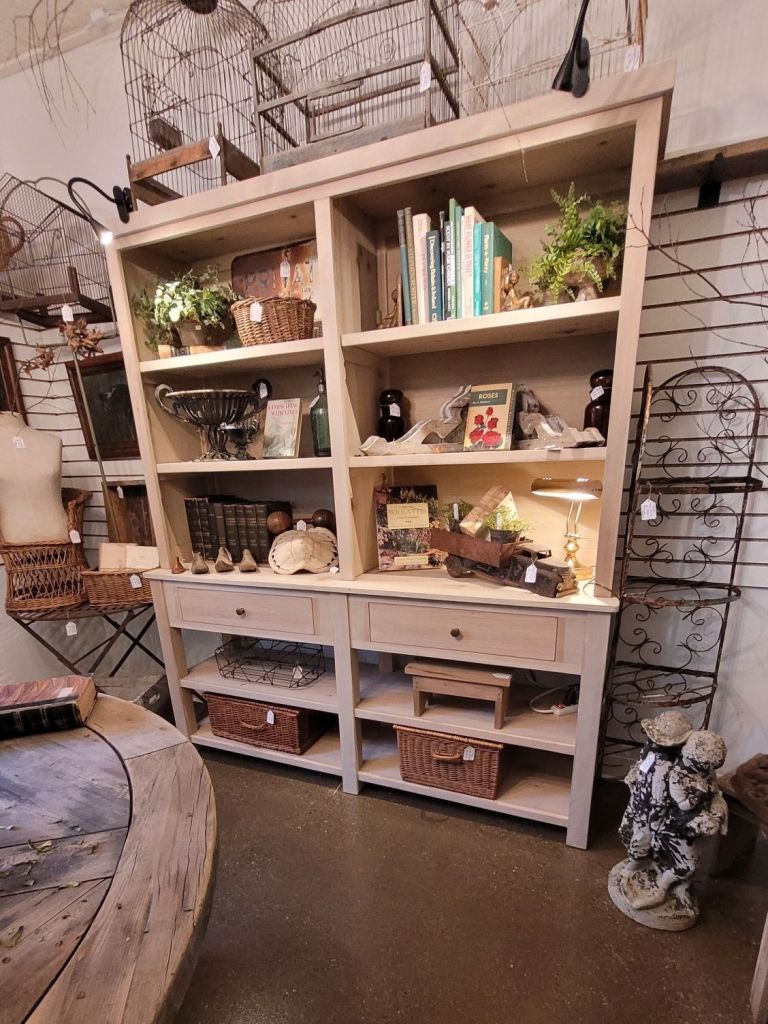
People in the antique shop love the piece and are perplexed that I built it out of 1×12’s from Lowes.
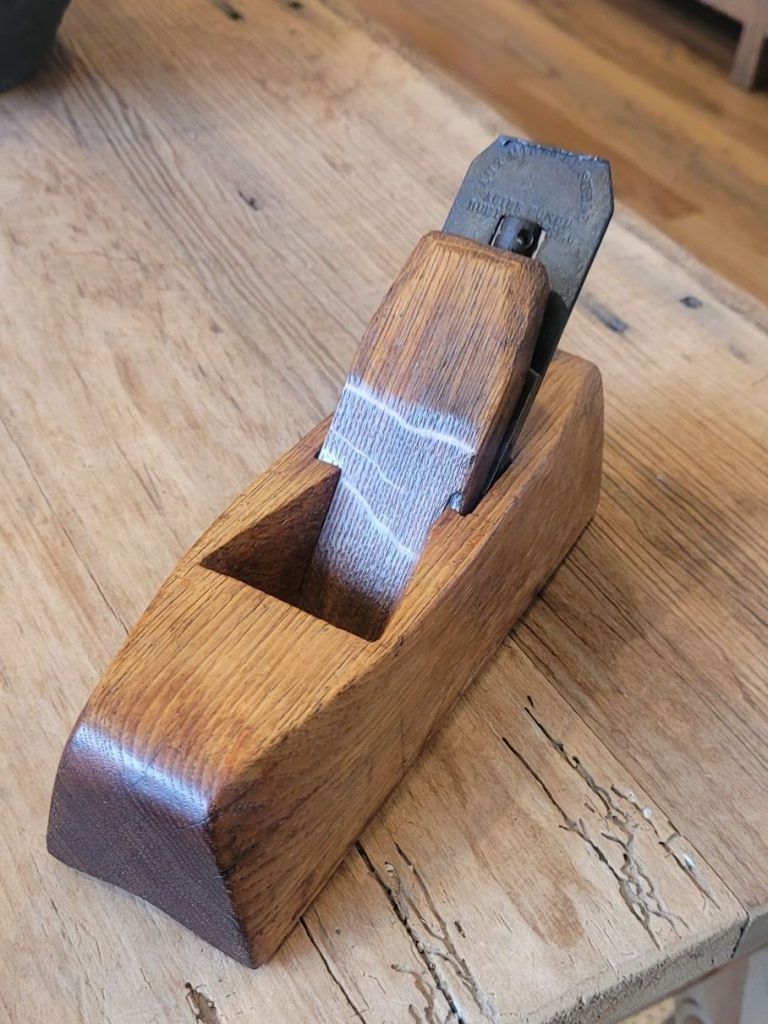
A Unique French Plane
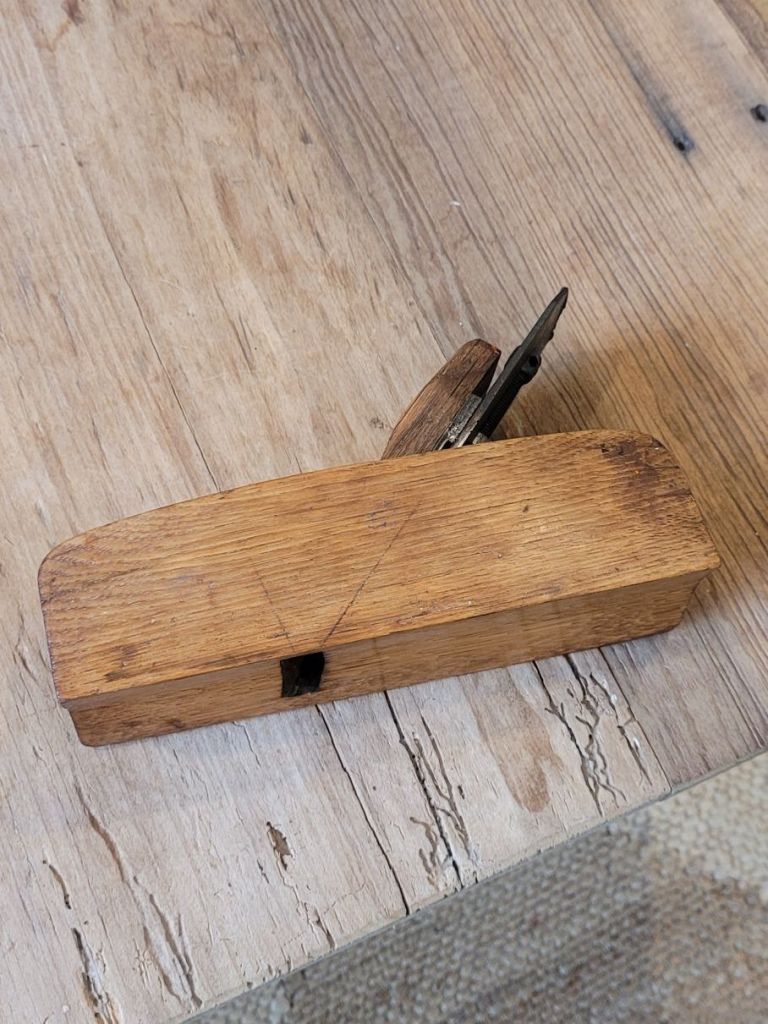
I was going through my tool collection yesterday when I stumbled on this little plane. It looks like any other coffin smoother with a convex sole until I took it apart to look at the blade.
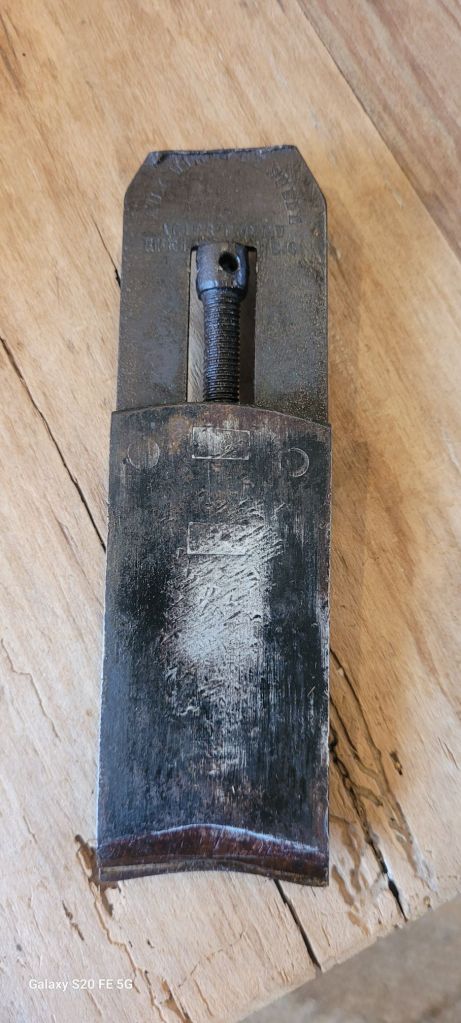
When looking at the back side of the plane, you can see where there is a screw mechanism to advance the cap iron up and down.

I took a brad awl and stuck it in the hole spinning the screw all the way down hoping I could remove the cap iron, but it didn’t work. My thread got stuck underneath the nut and I couldn’t turn it anymore.
Then, as luck would have it, when I wiggled the cap iron a little bit, it came loose off the blade. My tool oil I used must have loosened up the rust that has been sitting in the blade for decades. You can see a little nib at the top of the blade where the cap iron mechanism lays into.
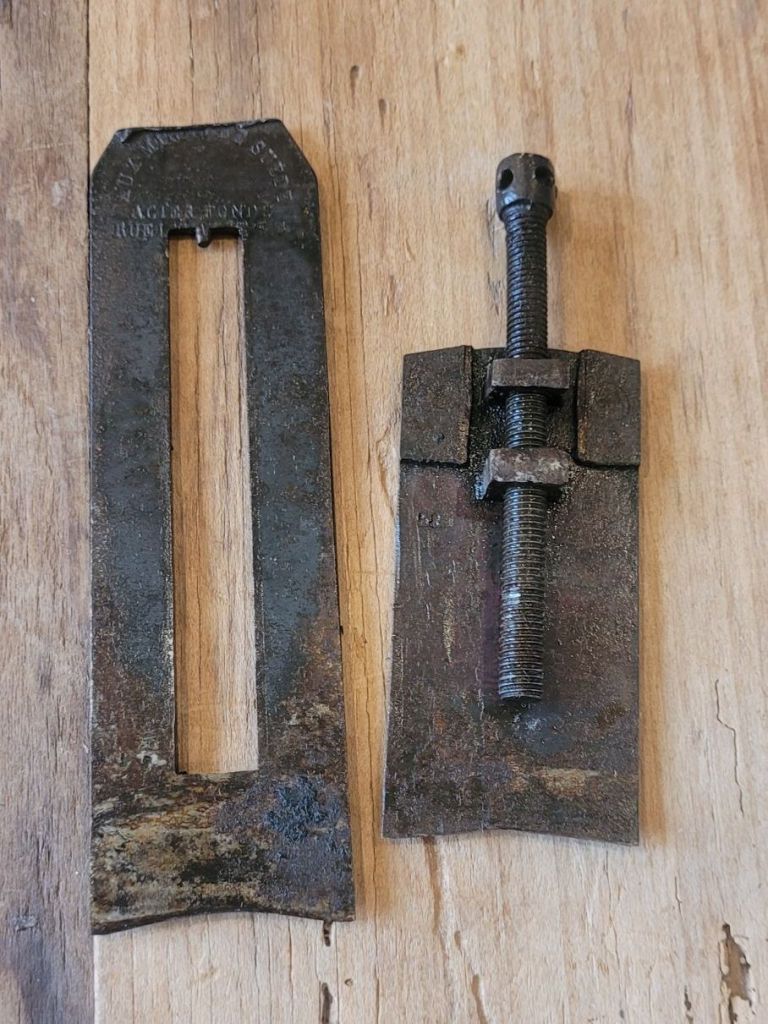
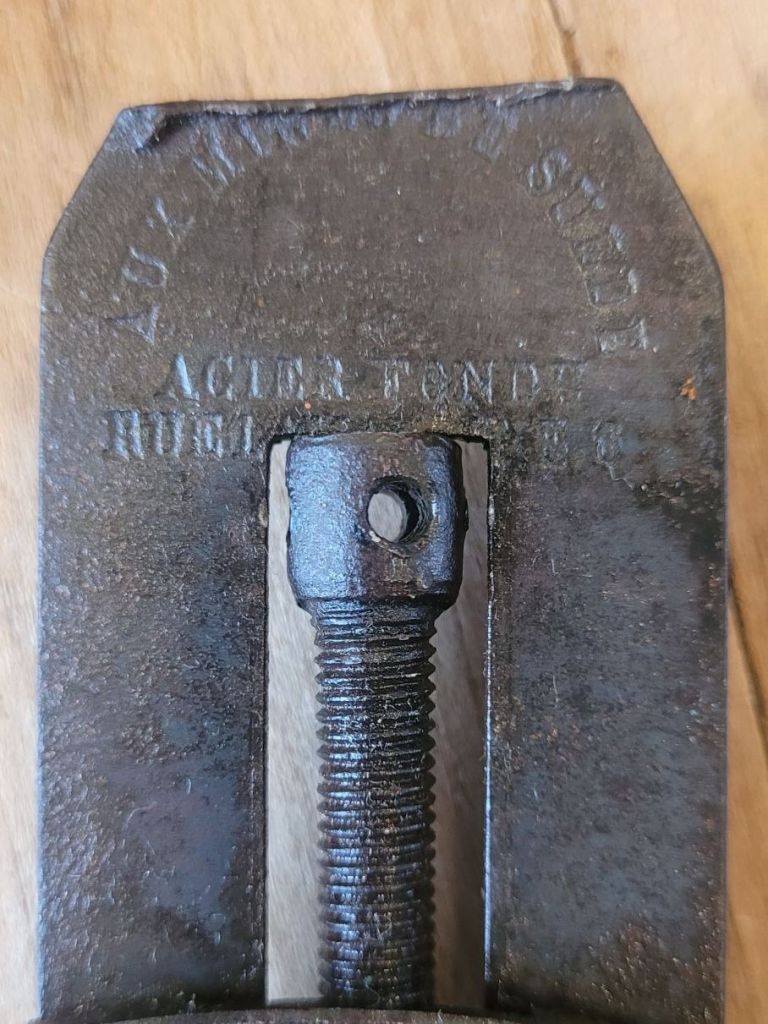
The plane was made by some French company but I can’t read the name. ACIER FONDU is cast steel in French.
The body of the plane looks to be made from oak. Quite possibly French Oak made by the original owner as you can still see the knife marks on the side where he was marking where to cut out the inside of the plane.
This is a really neat plane that I have ever seen anything like before. The owner may have used it on making wine barrels, but who knows?
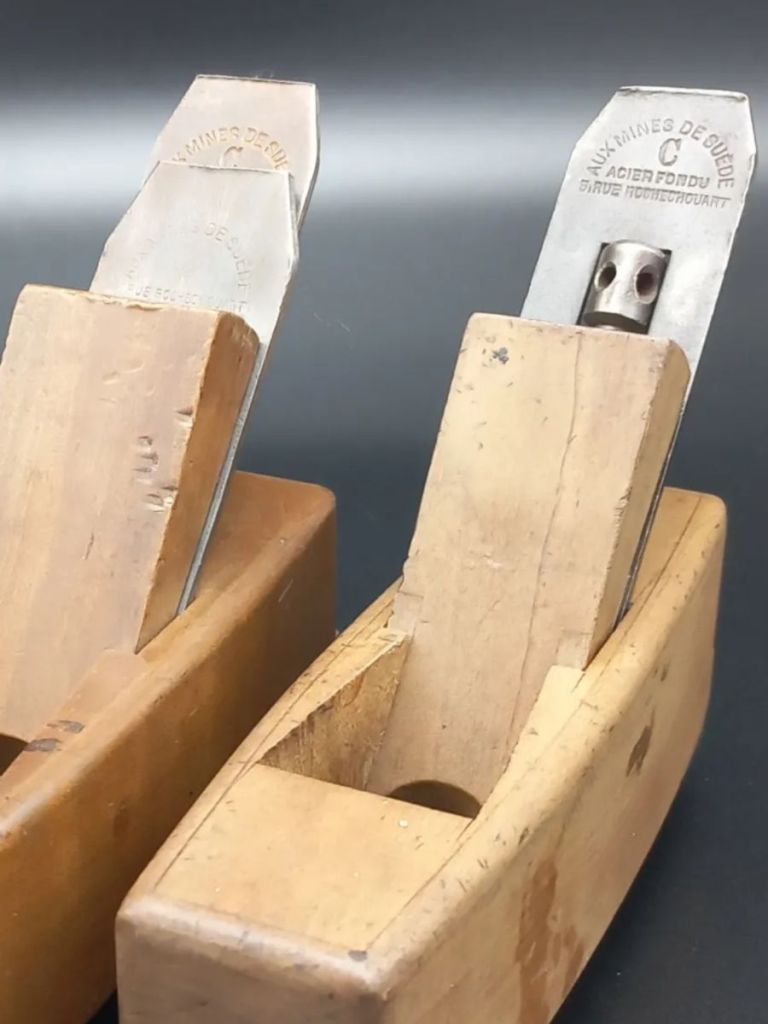
After posting this post, I did find an image of this plane from a French website. The maker of the plane is Aux Mines De Suede as it has the same cap iron mechanism.
I did a Google search on Aux Mines De Suede and found a downloadable PDF file of their catalog. Interesting tools in it.
Save Shopsmith by Buying the Company
After nearly 70 years in production, Shopsmith, the maker of the Mark V and Mark 7 woodworking machines, is on its last legs and facing liquidation unless a person or group buys them.
I never used a Shopsmith but always see used ones for sale on Marketplace. My understanding is that the accessories were proprietory so you were locked into only their brand of stuff. It didnt seem very user friendly to me, so I never considered buying one.

Did you own and use a Shopsmith? How is the machine? Was it a “jack of all trades, master of none” type of tool? I’ve always been curious.
Do you have a boatload of money and want to buy the company? Now is your chance. They may be liquidated by the end of the month. They are located in Dayton, OH and apparently it’s how Scott Phillips got his start with his TV show “The American Woodshop”. The story goes he worked for Shopsmith at the time and did some How-To videos on using the machine. Someone saw his videos and asked him to do a new woodworking TV show (or something like that. He knows the story a lot better than I do).
3D Printed Tools
A few weeks ago, my buddy Rich and I went out to Wings and Rings to watch the Bengals football game. While there, we shot the breeze and I mentioned that I bought these pipe clamp lifters online. I told him that they were made on a 3D printer. He told me that he could make those on his 3D printer and that there is a website called http://www.yeggi.com where you can search for free downloads of woodworking tools and jigs.

I checked out Yeggi and saw that they had Golden Ratio calipers and asked if he could make a pair. I bought a pair on Etsy years ago but they were smaller than I thought they would be. Rich made me two larger size on his 3D printer.

Then this weekend, he came over and gave me more stuff he printed for my birthday. I was shocked when he handed me this box. It was completely printed with my logo on it on his printer. Then inside were over twenty french curves I can use for designing furniture.


Then he gave me a really cool set of roundover jigs. This was another free plan he downloaded. It comes with seven different sizes. It’s an awesome gift!


So now my mind is spinning with what else he can print for me. I told Rich I’d pay him for his time, but he said when he puts in the download, he just goes to bed and when he wakes up in the morning, the item is printed. He told me just to pay for the filliment. What do you think I should have Rich make next?